Happy Birthday with Newton presenting a multi-layer cake and oh so many candles. The background is stencilled from die cutting. Newton and the cake are embossed on foiled cardstock. Did someone say Cake?
Putting It Together
I love stencils and stencilling. It's one of my favourite types of tools. Die cutting is another favourite technique, so, combining the two for a background propelled my imagination.
I used a Spellbinders inset Art Deco die to cut a sheet of light vellum. The vellum was handy and I have used vellum before for self-made stencils.
I used removable adhesive on the back of the stencil to anchor it to the cardstock.
I smoothed the stencil over the pearl white cardstock.
I decided to use spray with the stencil, so I put it in a box to contain the spray.
I sprayed the panel with Glimmer Mist. I had wanted to add another colour, but the lightness of the vellum let me down. The vellum started curling up with the moisture. Another colour would have seeped under the stencil.
When I removed the vellum stencil, I was happy with the single colour and how it turned out.
I trimmed the panel and dry fit it with some ideas: rose gold foiled cardstock, a scallop die, and Newton with his cake.
I decided to cut the rose gold foiled cardstock with the scalloped oval and simply emboss the stamping with black. Taking pictures of this mirror finish cardstock is difficult. It shows up better in person than the pictures.
While die cutting the oval, I got an idea for corners and die cut them from the same rose gold foiled cardstock.
I rounded the corners with a fancy punch and adhered the foiled detail to bracket the corners.
To finish the card, I added "happy birthday" die cutting from white foiled cardstock and added everything to a black cardbase.
For cards using a black cardbase, I like to add a white or light coloured panel to the inside which makes it easier to add a personal sentiment. I used the white pearl cardstock and the corner punch for the panel and stamped a sentiment with fuschia to bring the colour inside.
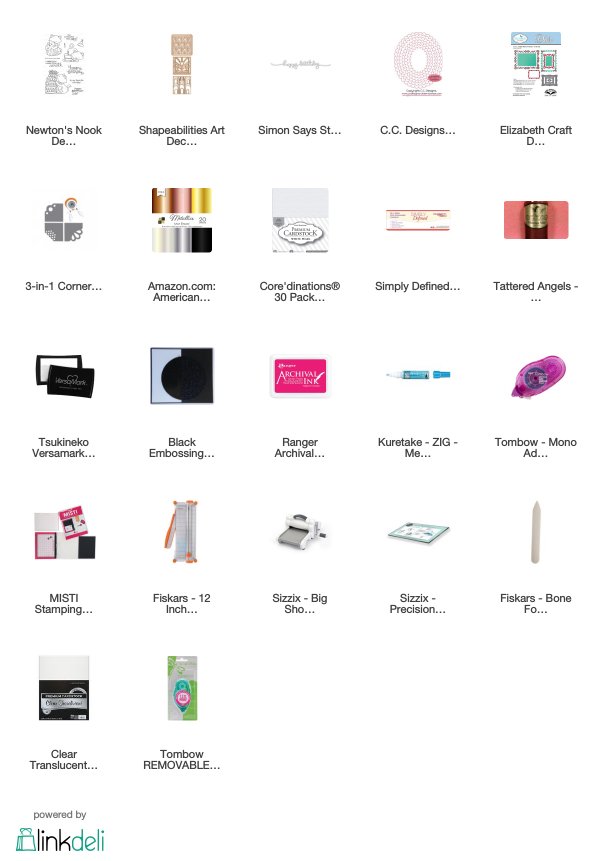
Supplies
Challenges
Inky Paws: Birthday Theme
Crazy 4 Challenges: Dies as Stencil
Tuesday Throwdown: Creative Corners
Addicted to Stamps and More: Make Your Mark
Happy Little Stampers with Dies: Anything Goes
Seize the Birthday: Anything Goes
Watercooler Wednesday: Occasion
Crazy 4 Challenges: Dies as Stencil
Tuesday Throwdown: Creative Corners
Addicted to Stamps and More: Make Your Mark
Happy Little Stampers with Dies: Anything Goes
Seize the Birthday: Anything Goes
Watercooler Wednesday: Occasion


Such a great card! Lots of little details to enjoy. Thanks for linking this up with us at Seize the Birthday!
ReplyDeleteCute idea! Thanks for Linking to the Inky Paw's Challenge.
ReplyDeleteDiane
Hi Kate, what an amazing card! I can see where the mirrored surface is almost impossible to show off well through photos, but from the ones you posted, I can tell that the gorgeous oval you created would be incredible in person. What a lot of work you put into this, combining the lovely stencilled background with that wonderful oval. Thanks so much for joining our Watercooler Wednesday Challenge this week.
ReplyDeleteWhat a cool card! Loved the tutorial on the background - such a cool technique! Thanks for joining us at the Inky Paws Challenge!
ReplyDeleteFabulous card! I love how you made your own stencil! (Thanks for sharing how, too!) Thanks for sharing your creative talents with us at Inky Paws Challenge!
ReplyDeleteHugs,
Debbie
Great job creating the beautiful stencil for your background and adding the fancy corners. I like embossed foil circle and the images. Nicely done. Thanks so much for joining us for our "All Occasions Challenge" this week at Watercooler Wednesday.
ReplyDeleteSo so cool!! Thanks for playing along in the WWC!!!
ReplyDeleteWhat an amazingly creative card! Thanks for the photo tutorial, it was very useful to understand all the steps you took. Thanks for sharing it with us at Addicted to Stamps and More and we hope to see more of your wonderful creations again soon. Hugs, Gwendolyn
ReplyDeleteI love your creative idea
ReplyDeleteto make self the stencil and thanks for the step by step
cute Image too
sweet and so creative card
many thanks for playing with us at Addicted to Stamps and More
hugs
Monika
Beautiful card..Love the idea..Thank you so much for joining us at Happy Little Stampers - Anything goes with dies challenge. Hugs xx Deepti
ReplyDelete